“When you do things right, people won’t be sure you’ve done anything at all.”
This line, spoken by the God Entity in an episode of Futurama, sums up the editing process for me. When clients watch a finished video, it probably looks like an easy thing to pull off. The story flows, the pacing feels natural, and the visuals land exactly where they should. That apparent ease, however, is the result of a careful, considered process that takes time, experience and hundreds of creative decisions that hopefully no one will notice!
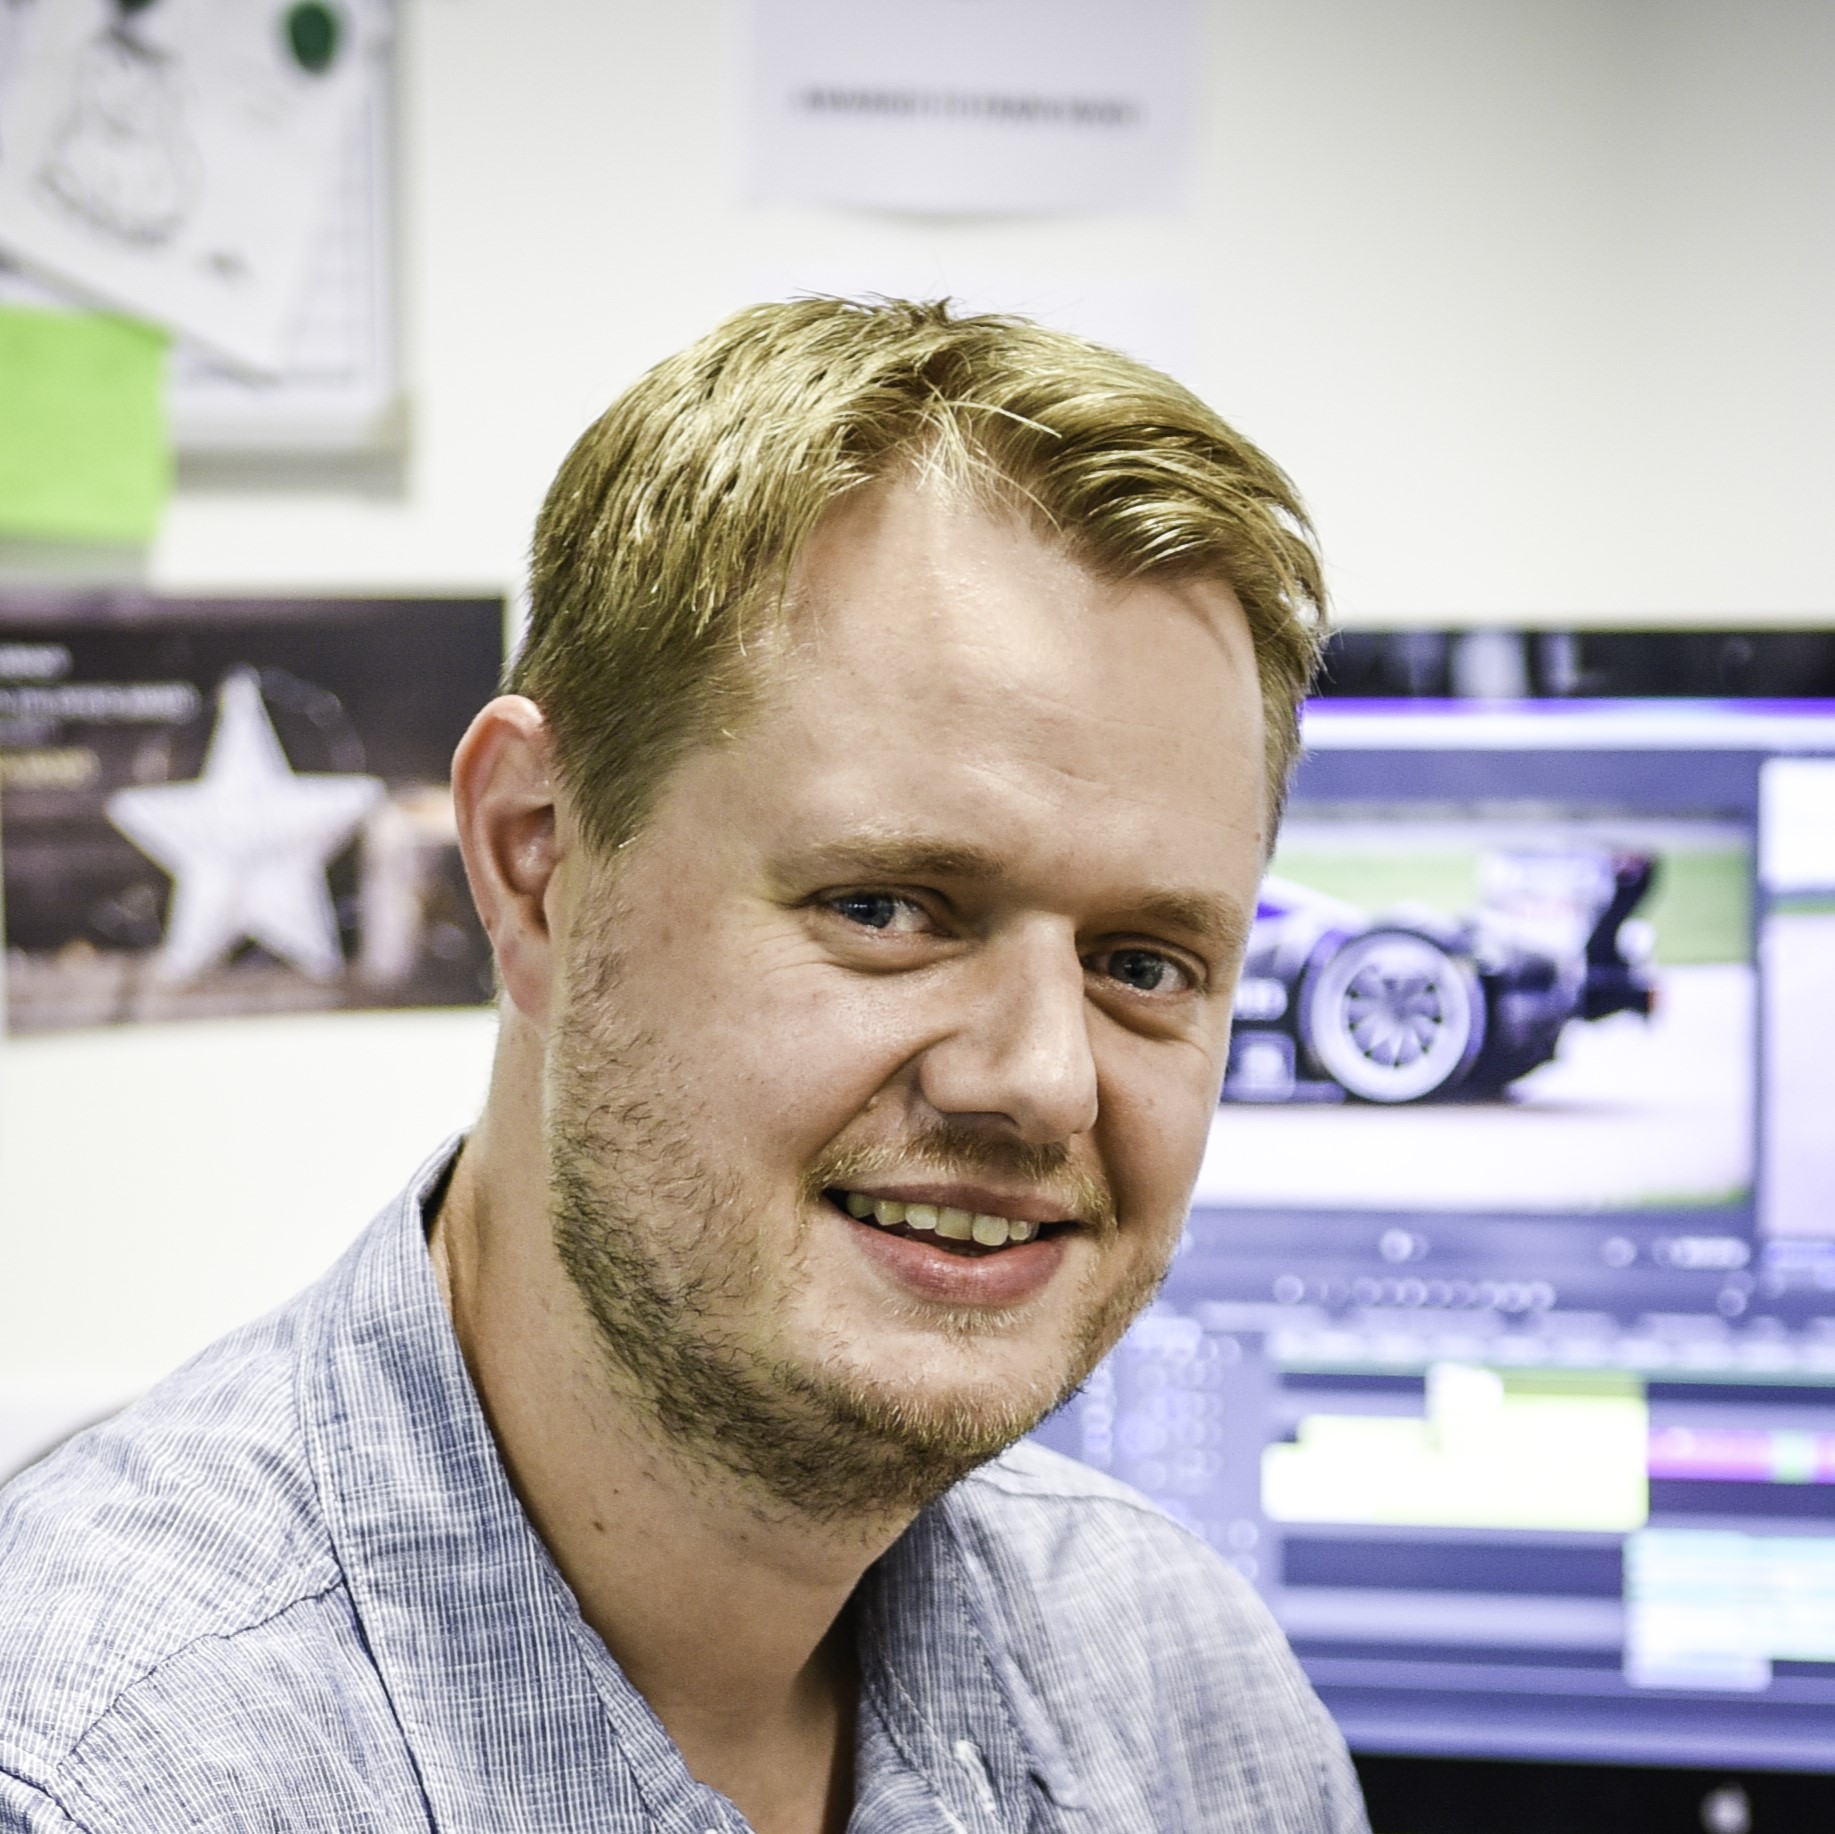
As a senior video editor at inEvidence, I’m often asked what actually happens once a shoot wraps and the footage arrives with the edit team. This blog offers a candid look at how a typical 2–3 minute customer story is shaped, and why each stage of the edit plays a vital role in helping to bring the story to life.
From shoot to timeline
Once filming is complete, the editor receives all interview footage and b-roll. Everything is imported, organised, and sorted so the project is easy to navigate. Interview transcripts are consolidated into a single working script, which becomes the backbone of the edit.
This preparation may not be the most visible part of the process, but it is essential. Good organisation allows the editor to focus on storytelling rather than searching for clips. With the groundwork complete, the edit can begin.
(If you’d like to see all of this explained in a video, go here.)
Edit stage 1: the content cut
The content cut is where the story takes its first real shape. Using timecodes from the transcript, we locate the strongest interview moments and start building the timeline by selecting, trimming, and arranging clips in the intended order.
At this stage, the focus is entirely on narrative clarity. We smooth out audio transitions, introduce pauses, remove “ums” and “ers” and make early adjustments to pacing and structure. If something feels unclear or overly long, this is where it is addressed. Getting the story right here saves time later and sets a strong foundation for the rest of the edit.
Edit Stage2: Building the Music Bed
Music does far more than sit quietly under the dialogue. It helps guide the viewer emotionally through the film and plays a key role in how the story is perceived. It’s also probably the most subjective element of the entire edit.
Key considerations for a music track are tone, pace and energy, but it’s also crucial to choose a genre that suits the industry and geography in which a video is set.
Once we have chosen one or more tracks, we build a music bed around the interview content. Most tracks contain natural rises, drops, and shifts in energy. These moments, known as music cues, are used deliberately. By manually adjusting volume levels, we allow the music to rise between interview sections and fall back when dialogue returns. This subtly divides the film into acts, helps maintain engagement, and gives the narrative room to breathe.
Changing a music track isn’t a simple swap. Each track has its own structure, tempo, and dynamics, which means the music bed usually has to be rebuilt to work properly with the edit. That makes this stage both creatively important and surprisingly time-consuming. When the right track lands, though, it can transform the piece and elevate the storytelling.
Throughout this process, audio levels are carefully monitored to ensure dialogue, music, and any natural sound remain balanced and clear.
Edit stage 3: b-roll and visual storytelling
This is where the edit really comes alive. We begin selecting from pre-sorted b-roll and placing visuals around the interviews and music. The aim is not simply to illustrate what is being said, but to enhance it by adding pace, texture, and emotional context.
This phase involves a lot of trial and error. Shots are adjusted, reordered, and refined repeatedly until the timing and balance feels right. One thing we are striving to avoid is anything that may be jarring to the viewer, things like:
- the eyeline of the speaker shifting between wide and close up shots
- a speaker blinking, or a sudden movement right before the cut
- the speed and direction of a vehicle changing between shots
- camera perspective jumping to the other side of a subject (“crossing the line”)
It is one of the most time-intensive stages of the process. And the result, when done well, is an edit that feels effortless and engaging.
Edit stage 4: colour grade
With the structure locked in, we move into polishing the visuals. Much of the footage we work with is shot in a flat log profile, which preserves detail but needs grading to look natural. Shot by shot, we adjust exposure, contrast, saturation, and colour balance to create a consistent look and feel. We also adjust skin tones to ensure the people we feature are always looking their best.
This stage combines technical tools with a trained eye. The speed of the grade often depends on how consistently the footage was captured during the shoot. Strong camera work makes a noticeable difference here.
Edit stage 5: audio and graphics
The final stage focuses on clarity and brand. We add in graphics such as branded intros and outros, titles, and speaker names and job titles, typically using motion graphics templates for consistency.
Bespoke animated elements may also be brought in to showcase software or data at work or highlight key quotes from the speaker.
Interview audio is cleaned up to remove background noise and distractions, using a mix of manual techniques and AI-assisted tools where appropriate. The goal is clear, natural sound that never draws attention to itself.
Sound effects will also be added to bring certain shots or animated elements to life, i.e. if someone hits a golf ball, starts an engine or a data graphic suddenly pops up, you can double the impact with carefully timed sound effects.
Export, feedback, and refinement
Once the film has been through internal QA checks, the video is exported, uploaded, and shared with the project manager. Then comes the wait for feedback. Amends are a normal part of the process, whether it is a pacing tweak or a change in music tone. Refining these final details is how a good edit becomes a great one. If captions or subtitles are required, they are added at this stage unless we are working in a non-English language, in which case they will be present from the start.
Why the edit matters
A strong edit is about far more than cutting clips together. It is about storytelling, rhythm, and understanding how sound and visuals work together to shape meaning. There are often hundreds of specific tweaks that may go on to create a seamless edit, and hopefully “people won’t be sure you’ve done anything at all” because the last thing you want the viewer to notice, is the editing itself.
Learn more about our video offering, subscribe to our newsletter for more tips and news, and follow us on LinkedIn.